![]()
Clutch Assembly
TRT Home Page Disassembly
Through Ignition Installing
3rd Gear Assemble the Cases
 |
|
 |
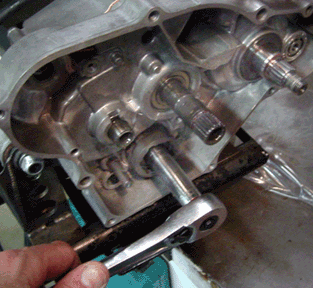 |
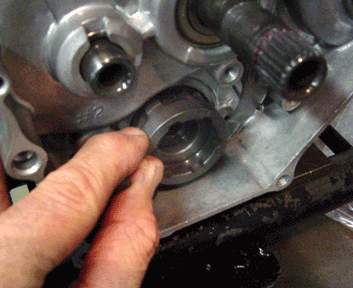
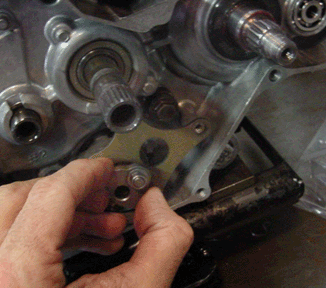
| DO NOT FORGET to install the tiny little pin behind the gear selector cam. Pull the tension arm back and install the gear selection cam. | Apply loctite blue to the bolt/pin for the gear selector cam. Carefully screw in the bolt/pin for the gear selector cam. Once you bottom the bolt, carefully turn the selector clockwise until it stops. Twisting the shafts while you do this is helpful. I've been told there are better ways to do this, but the engine building gods haven't decided to share the trick yet. |
 |
 |
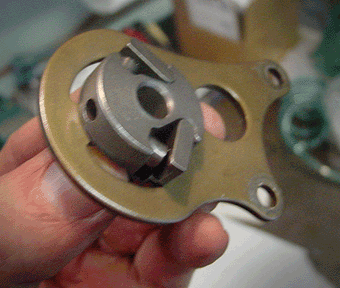
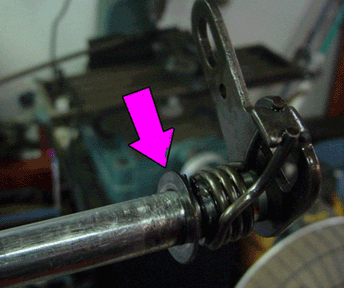
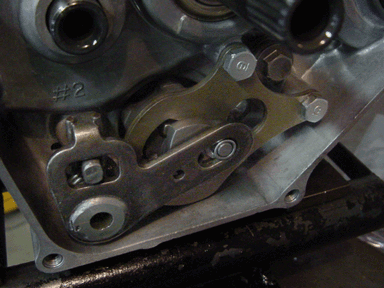
| Take a good look at this assembly. If you blow it and drop this dude on the floor, you just lost 15 minutes of your life trying to reassemble this puzzle of springs, followers, levers and whatnot. | Gently insert the assembly onto the gear selector cam bolt/pin and match the holes with the bosses in the case. Tighten the bolts to about 70 inch pounds. |
 |
 |
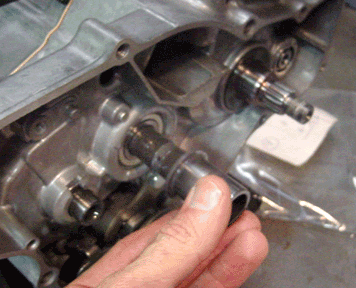
| You will hate yourself if you forget this washer once you finish bolting the lump back together. | Ain't that about the prettiest thing you have ever seen. Now for the last big challenge of rebuilding the motor. |
 |
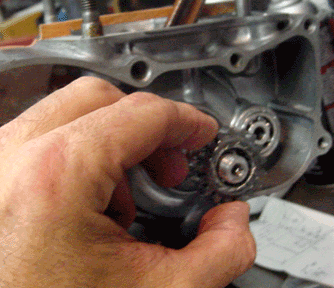 |
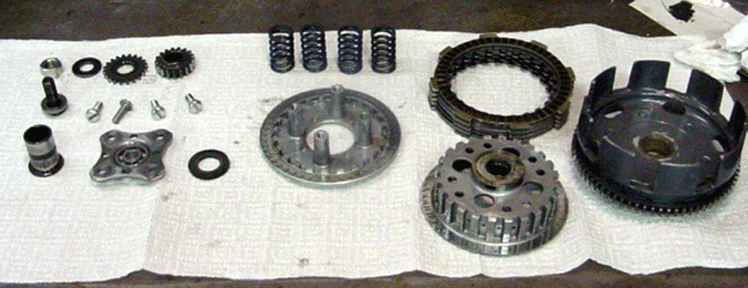
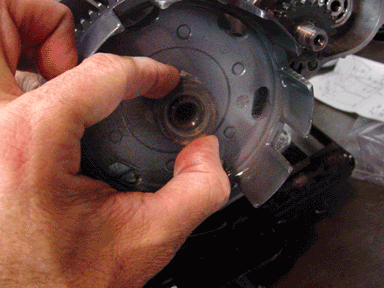
| Lube the transmission input shaft and slide the clutch basket sleeve on. Note the flange faces inward. | Slide on the PTO gear onto the clutch side of the the crankshaft journal. |
 |
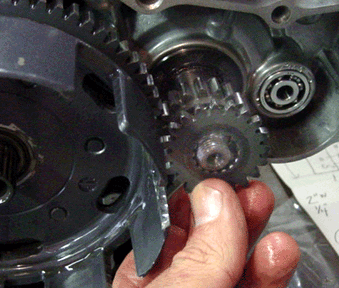 |
| Slide the clutch basket and washer onto the transmission input shaft. Forget the clutch washer and you might as well bring a sword to the track to fall on. | Install the waterpump gear directly ahead of the PTO gear. |
 |
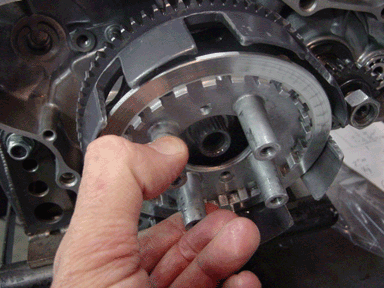 |
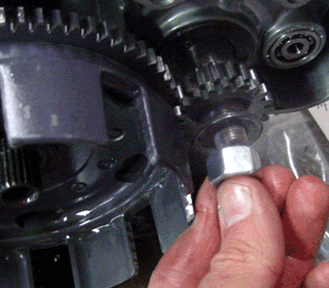
| Install the washer and nut. It is a good idea to blue loctite the nut because your self esteem will only get worse when the bolt backs out and punches a hole in the expensive aluminum clutch cover. Don't ask me how I know this and don't ask about the JB weld on the cover. Torque the bolt to 35 foot pounds. | Install the clutch pack backing plate. |
 |
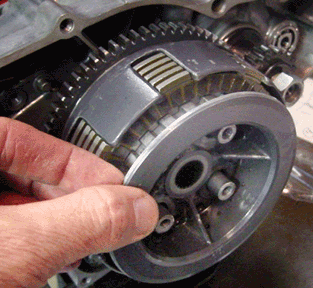 |
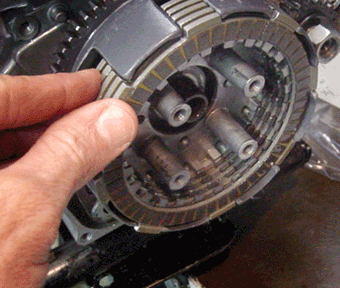
| Install the five friction disks and four floaters. Try to line up the little teeth on the floaters. | It is time to get jiggy with the clutch pack. Install the clutch pack outer plate and line up the teeth so that the unit seats. |
 |
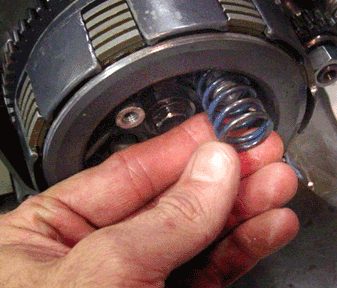 |
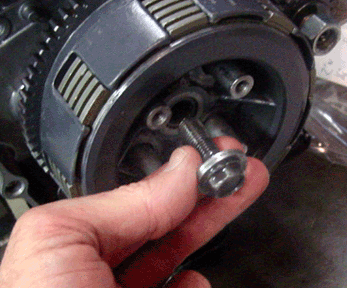
| Install the clutch bolt. EXTREME CARE must be exercised here. The bolt head is shallow and soft. Make sure you have the washer installed with it. Tighten to 35 foot pounds. (a little blue loctite wouldn't be a bad idea.) | Insert clutch springs. Most of the racers in the area like the stock springs because they give better feel on starts. |
 |
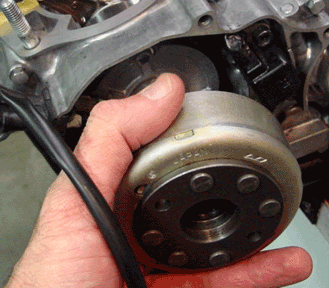 |
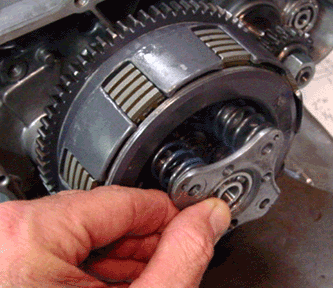
| Install the spring plate and the clutch bolts. 60 inch pounds is plenty of tightness. Say "fweeew! Now I'm home free!" Bolt the clutch cover back on and fill the tranny with a good lightweight gear lube. Don't be a tightwad and use ATF or 30 weight. Gear oil has shock absorbing qualities that are so important with a high horsepower, fragile motor. | Install the ignition stator and rotor. Make sure you get the key and slot mated. |
 |
At this point, you simply need to follow the CR80 Top End tutorial to finish the motor. |
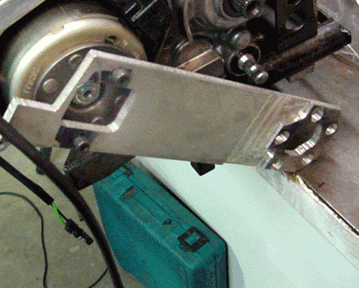
| I use this tool to hold the flywheel while tightening the rotor (35 foot pounds). | |