 |
 |
 |
||||
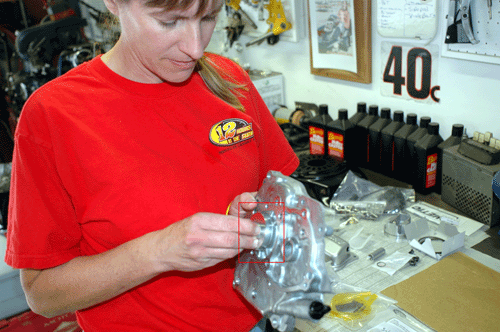
Preassembly-page 2 |
||
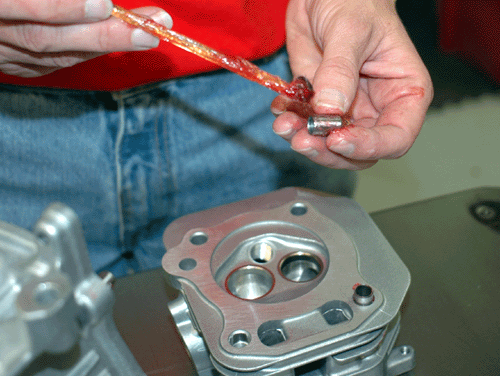 |
It is a good idea to grease the guide pins prior to installation. Look at that gorgeous combustion chamber. | |
 |
Visually inspect the crank. Make sure all bearing surfaces are free from damage. | |
 |
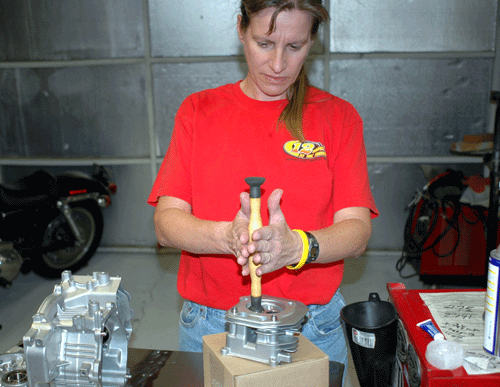
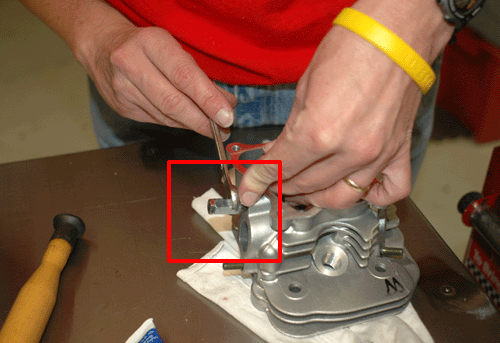
Note the red box. Kathy is using the cool seal installer provided in the assemby kit. It also makes for a very high tech air hockey paddle. | |
 |
I had Kathy lap the valves as practice or making me a chocalate cake later that day. Burris and Yamaha state that valve lapping isn't mission critical, but it is not a bad thing to do if the motor is already apart. |
|
 |
She then installed the rocker arm studs and the guild plate. Note the embossed area on the plate is aim upward. | |
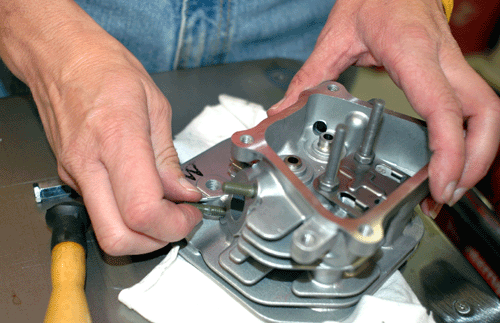 |
Next, she installed the studs. First, running them in by hand. Yamaha castings are so accurate and well machined, that studs thread in easily. | |
 |
She then tighted the studs 1/4 turn after hand tight with the stud installer supplied in the accessory kit. | |
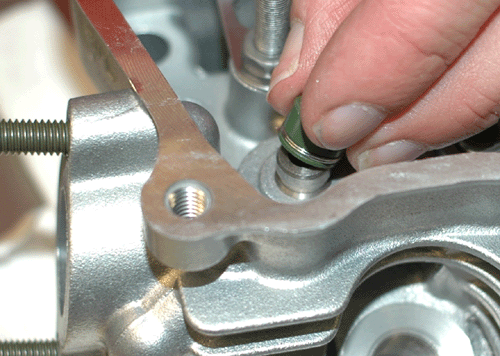 |
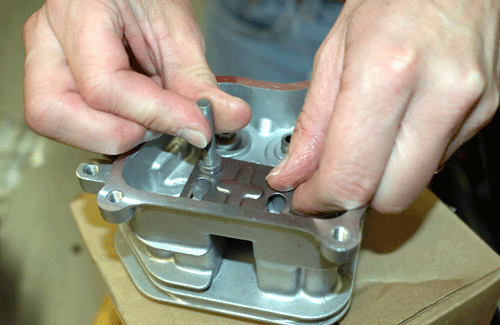
DO NOT forget to intall the valve guide seal. | |
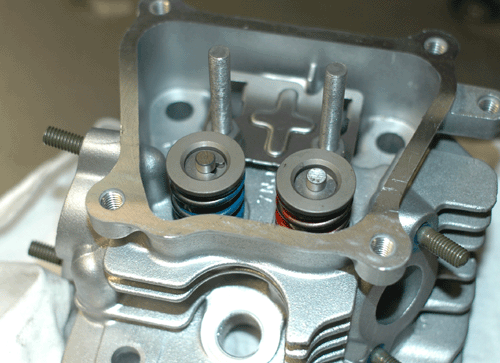 |
The valve/retainer/keeper installation is pretty generic. What is cool is the cooler coated intake and exhaust valve springs. Kinda like eating at Denny's-the menu has pictures of all the food and you just have to point and say "I want dat one!" | |
| previous page (1) | ||