![]()
Disassembly Through Transmission
TRT Home Page Disassembly
Through Ignition Installing
3rd Gear Assemble the Cases
Assemble Clutch
 |
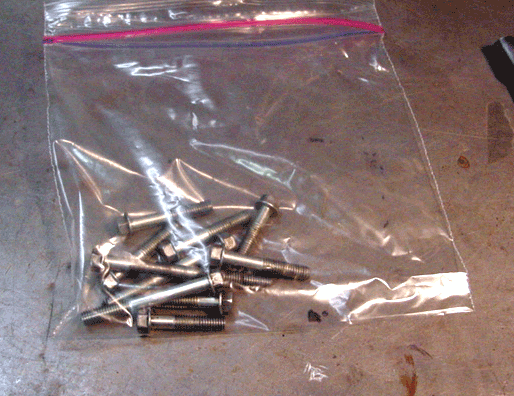 |
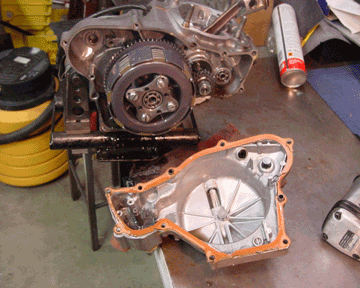
| Remove the 10 bolts that secure the clutch cover to the cases. Grap a couple of paper towels and clean the uckum off the shop floor and bench. With any kind of luck the gasket will stay with either the case or the cover. | I like to put these bolts in a zip lock bag because it makes it much easier to find the correct bolt when reassembling. |
 |
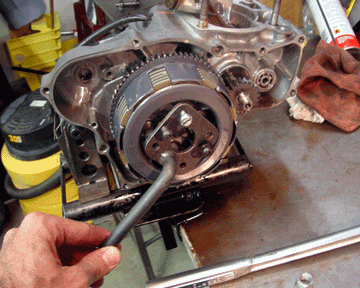 |
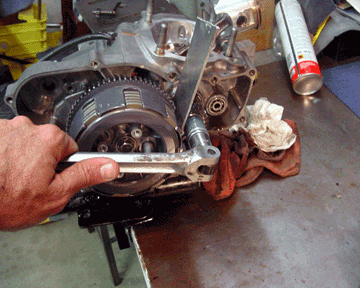
| Remove the PTO nut on the crank by impacting (secure the rod por favor!) or wedging a soft hunk of aluminum between the drive gear and the clutch gear. Did you know the ratio is 4.1ish to 1? Carefully remove the nut with a breaker bar. | Attach your handy dandy Rick Adachi built clutch tool to the clutch. Impact off the clutch basket bolt. BE VERY CAREFUL. The bolt has minimal gripping surface and this combined with uckum can lead to rounding off the head. Muy mal! |
 |
 |
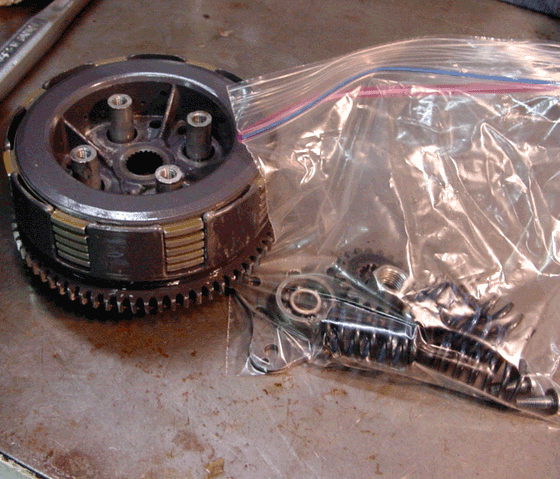
| You should now remove the spring retaining bolts and remove the spring plate and the springs. Place this stuff, along with the clutch bolt, internal clutch washer, PTO nut, waterpump gear and washer in the bag. We will deal with the clutch rebuild and blueprint in the future. Call Doug Flemming at Pitts for his free clutch tips. | Remove the shift selector shaft thing, making sure the thing blue steel washer comes along for the ride. |
 |
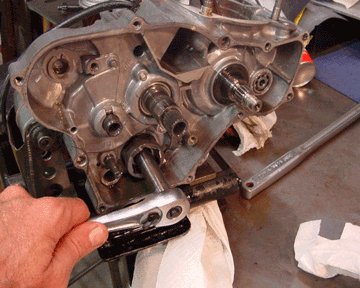 |
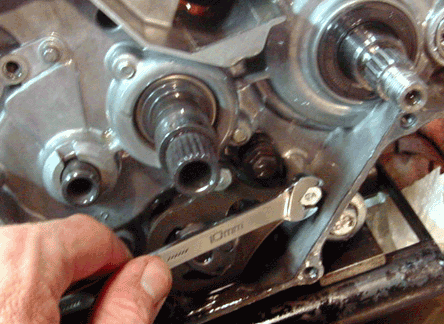
| Remove the 10mm bolts that secure the shift ratchet device. If you are careful and are leading a good Christian life, the ratchet mechanism with come out with the plate and not explode all over the shop. | Gently remove the 12mm bolt the secures the gear selector cam. Pull back and spring loaded follower and remove the cam. |
 |
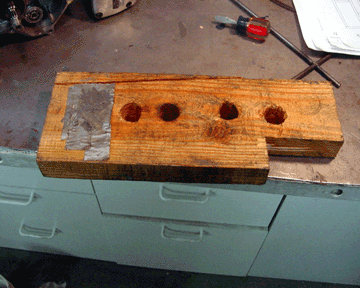 |
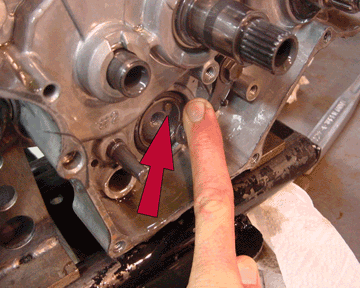
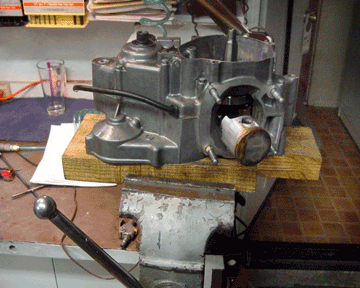
| Follow the red arrow. The locator pin must be removed or you will lose it and end up chopping up your drill bits to make a new one. | No, this is not an aerospace tool made by Bill Barros, this is where your cases lie when you begin to split them. |
 |
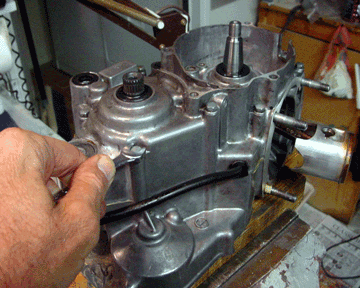 |
| Now we are ready to open up the patient. Nurse, hand me the 8mm socket. | Remove the 9 case bolts. Lock very carefully for them Trying to split the cases with one still installed can wreck your day. |
 |
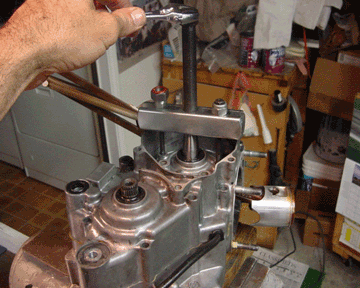 |
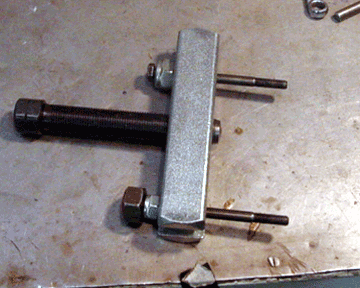
| This aerospace spec case splitter comes from Pep Boys. | Here is where you want to be the perfect man. Gentle, knowledge able, determined and perceptive. While tightening the splitter, gently tap around the cases with a dead blow hammer. The case should split, leaving the transmission and crank sitting happily in the lower case half. |
 |
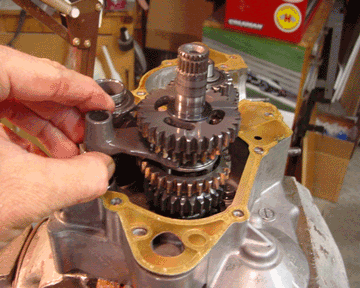 |
| Remove the two shift fork shafts. Remove the crankshaft. If the crank doesn't pull out with you yanking on it, you will have to carefully put the case splitter on the lower case half and press the crank out yourself. | Remove the shifter forks, pausing for a moment to notice and remember their orientation. Write it down if you have to. |
 |
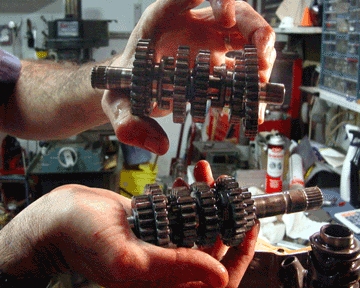 |
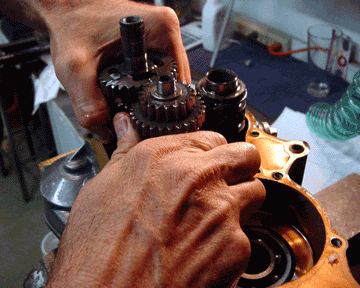
| Grab the bottoms of both shafts and wiggle them out of the case. Make sure you get the washer on the bottom of one of the shafts. | Pretty damn hard to believe you run 25 horsepower through those little gears. |